Betta fish aka Japanese Fighting Fish are lovely fish to watch. To me they have a regality to them as they swim. Betta fish have been in my home for some time as they were pets for my children. Your local pet stores carry a variety of these fish as well as cute betta fish tanks. As I stated, I found these tanks to be cute and really designed for children. Some tanks even had the rocks and plants fitted permanently inside so you literally just had to add the fish. Beautiful idea… no fuss… no muss! I was looking for a more effeminate betta tank especially for me so I began an enthusiastic search online. Needless to say I became inspired and eager to share my findings; so here it is DIY betta fish aquarium.
Cutting to the chase, how much does it cost? Inexpensive……inexpensive…..inexpensive and fun! My costs totaled under $40; time to go shopping. You want to start at your local pet stores because you will get the bulk of your needed materials here. At the pet store you will purchase……. one betta fish per tank(they are territorial and like to fight, usually to the death)…..betta fish tank water conditioner…… betta fish food…….and optional decorating materials like stones and faux plants. I 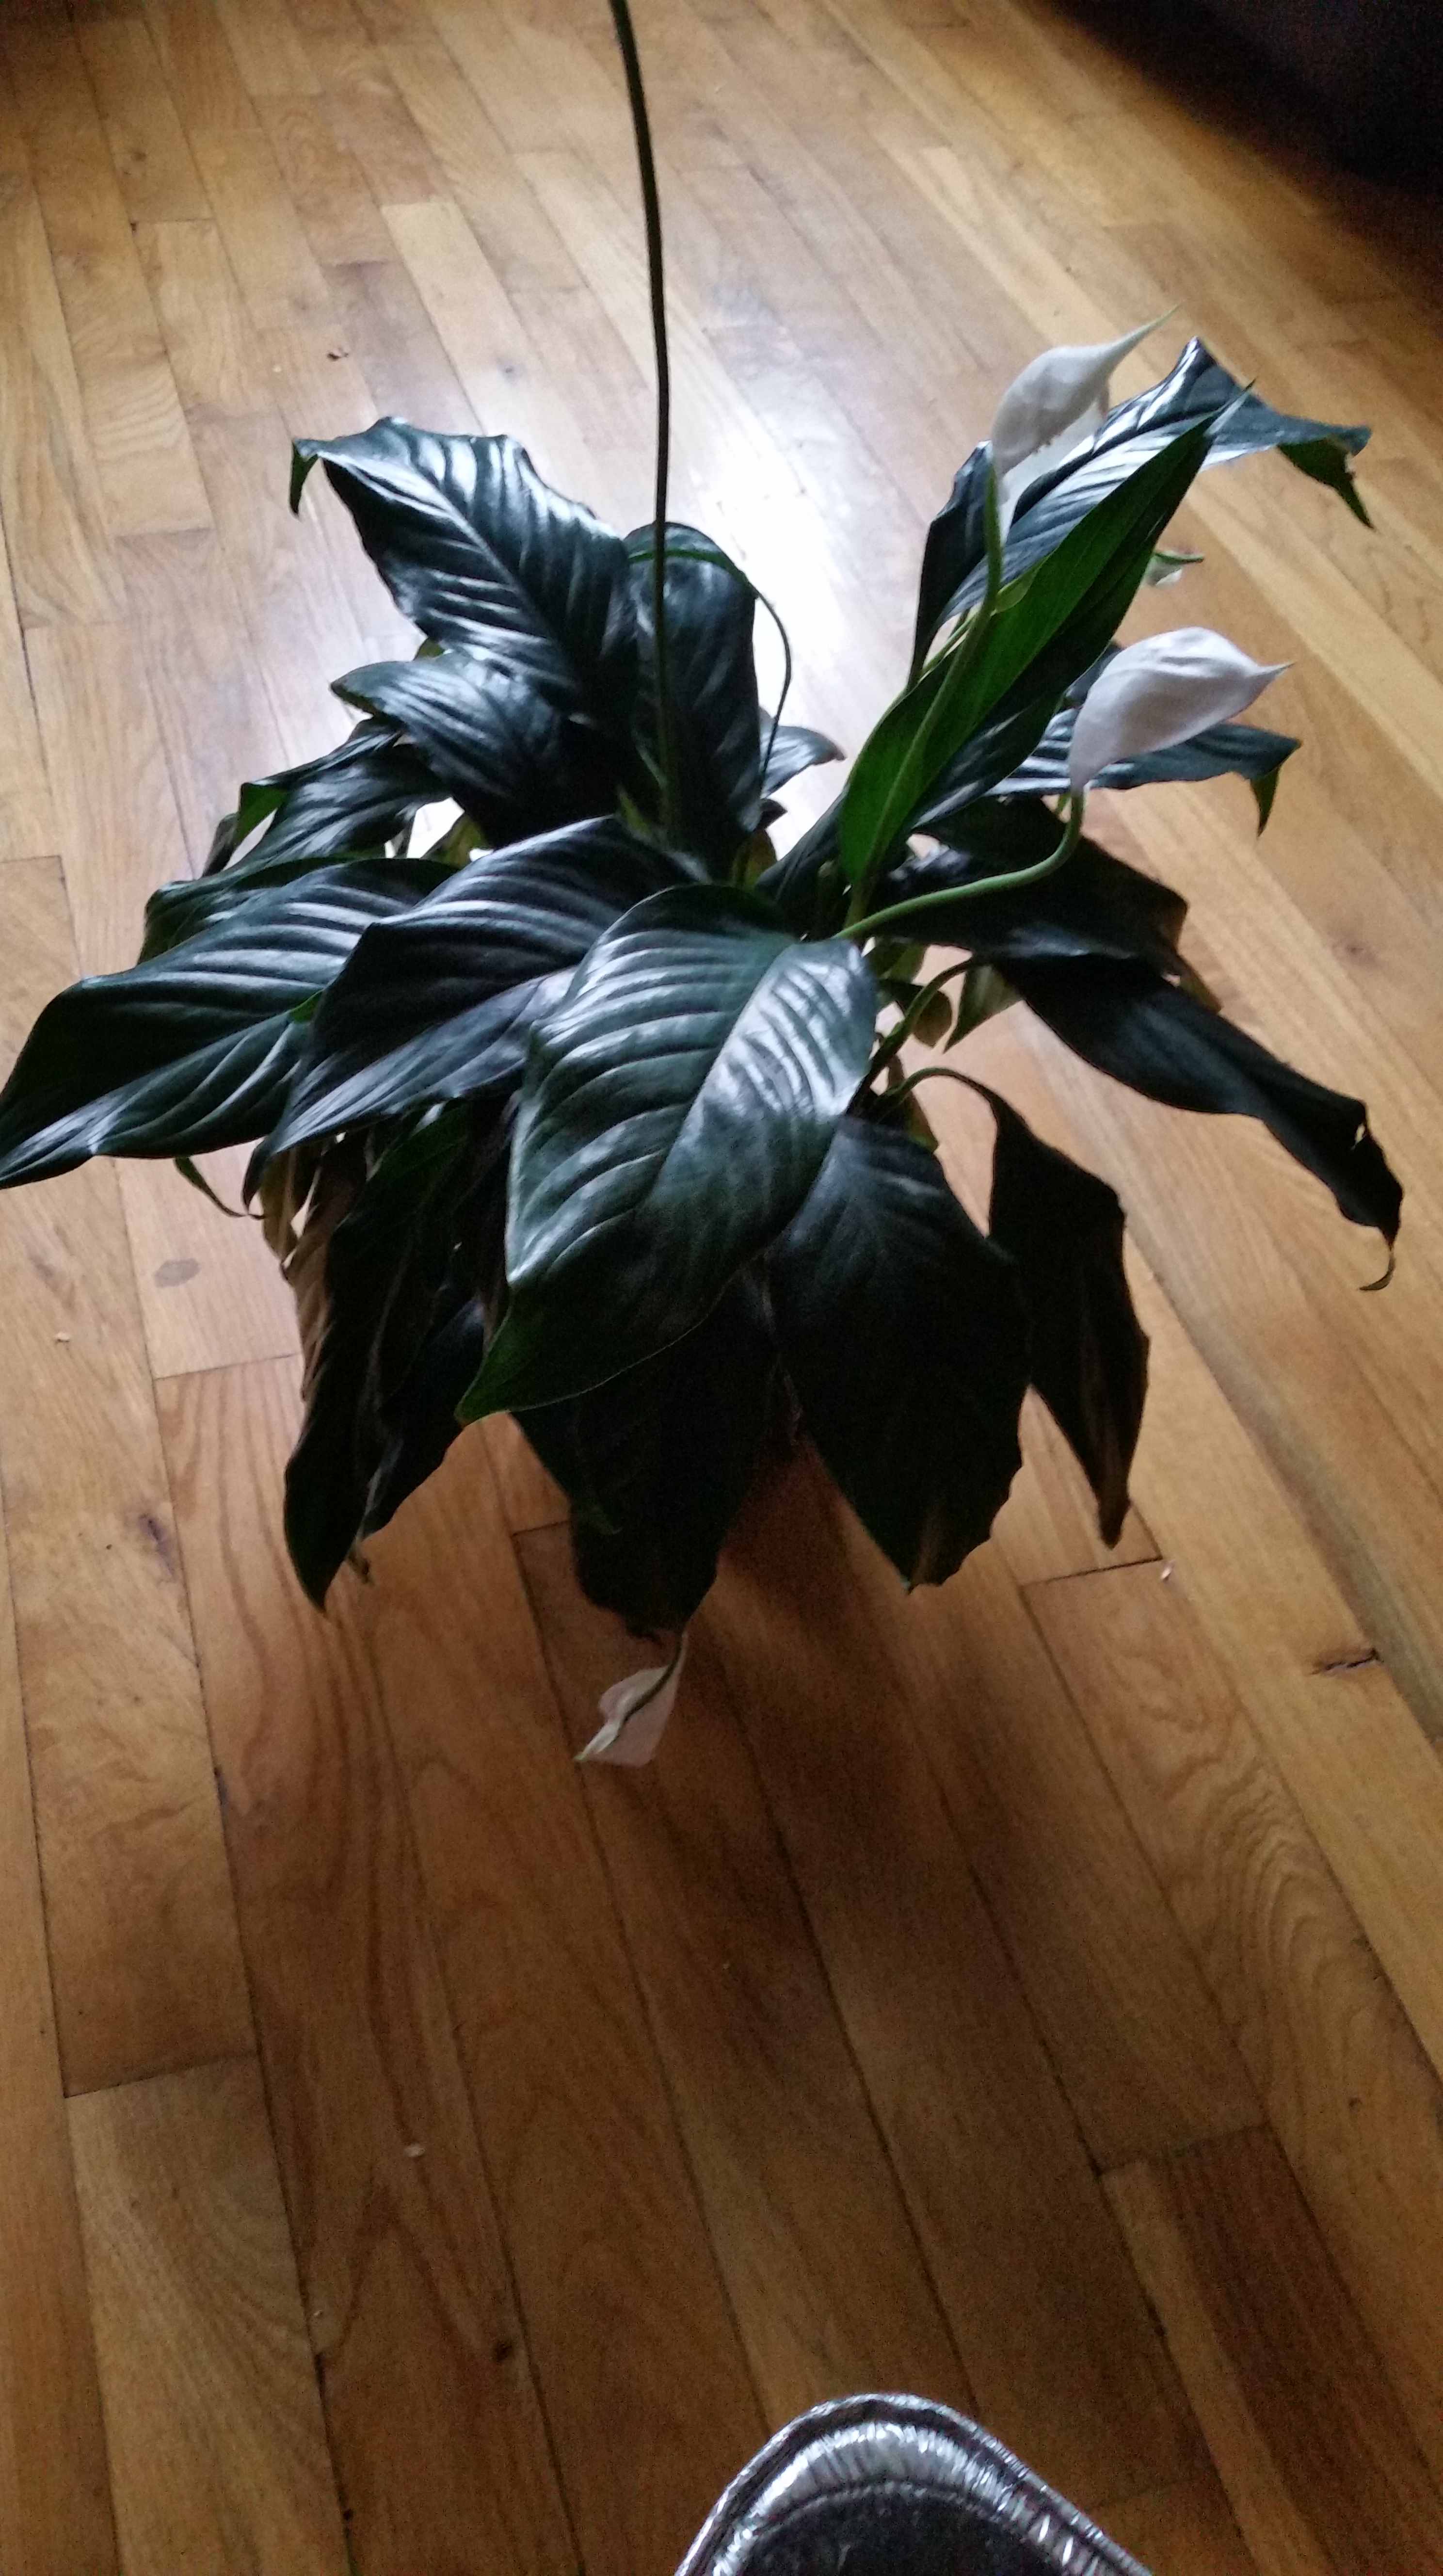 bought my Peace Lilly plant from Home Depot( research states that this plant is safest for betta fish) and found my tank at Marshalls.
Materials in hand so let’s go to work. You want to start with the tank first. Using very hot water, you may clean out the tank without soap as it may leave behind residue. Next add in your decorative materials and rinse. If you did purchase the rocks and faux plant, use the rocks to hold down the base of the plant. The next step requires that you meticulously measure the volume of water added to the tank because the water conditioner is added dependent upon that volume. Use lukewarm water to fill the tank but leave about 2 inches of space at the top. Now add your water conditioner to the tank as directed on the package. In order to help the fish acclimate to the water in the tank, we will place the plastic bag with fish inside it into the tank water and set aside.
Now it’s time to remove your beautiful Peace Lily plant from it’s pot. 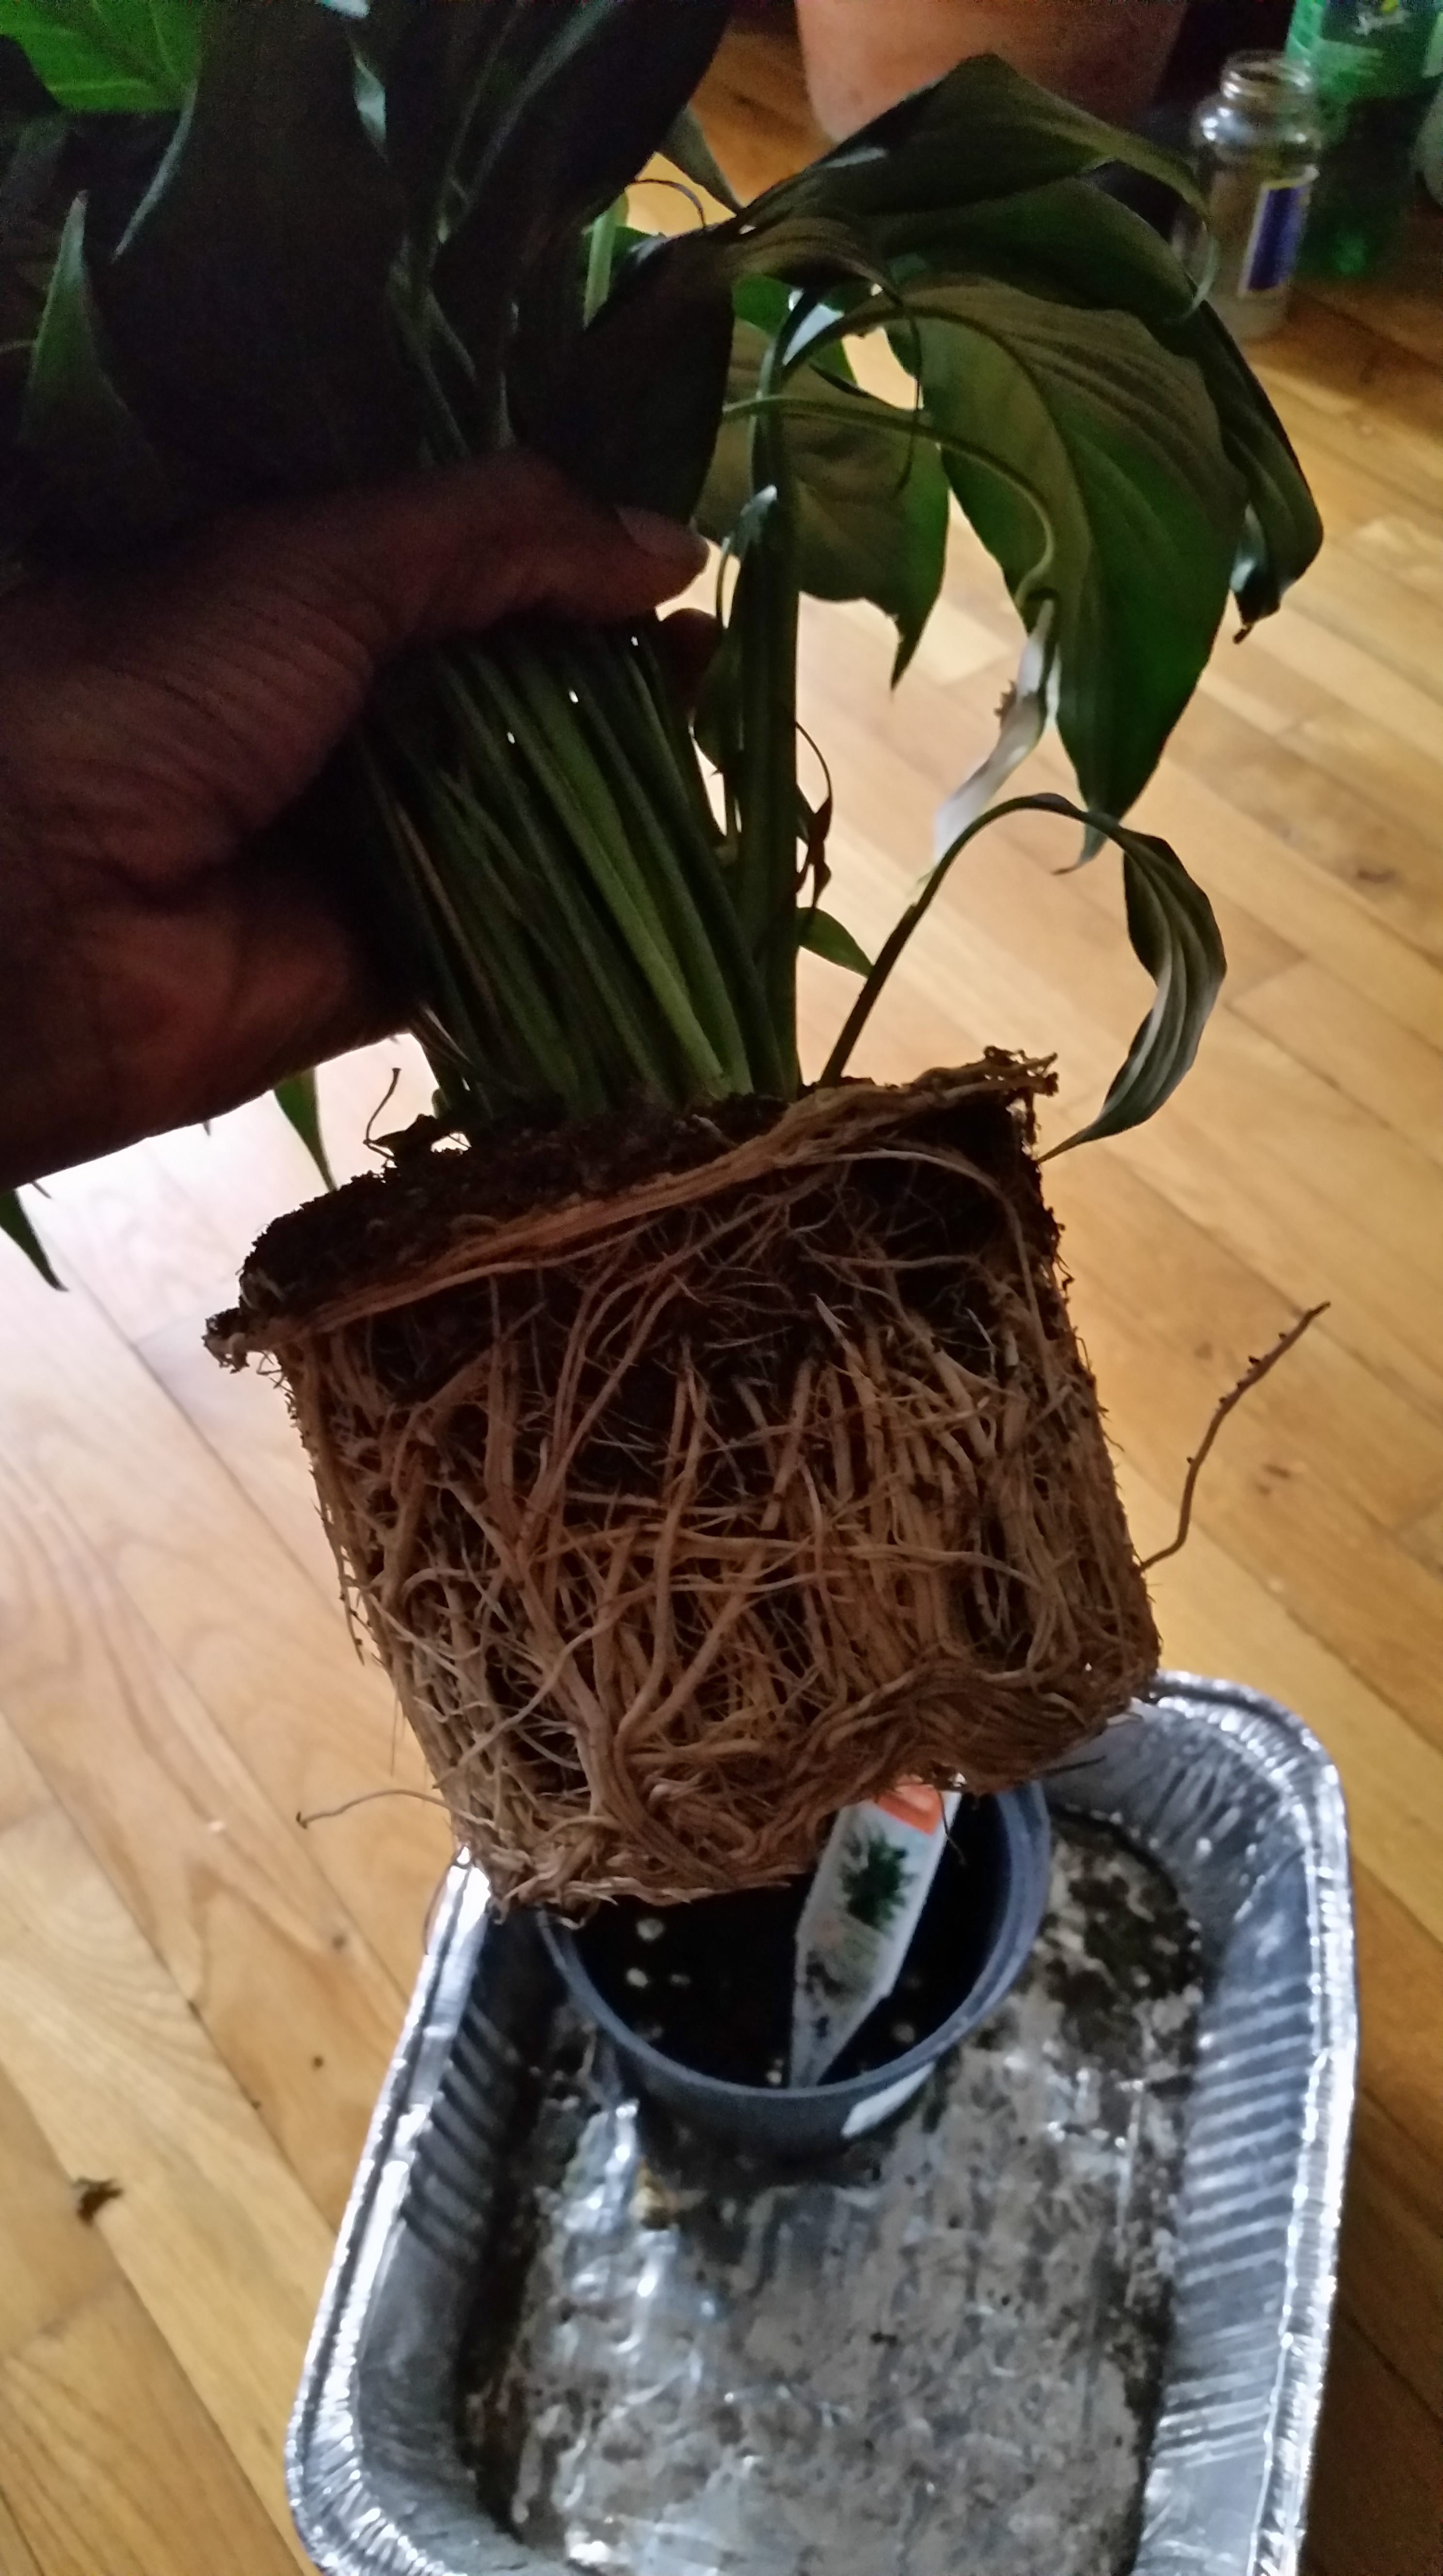 Because I live in an apartment, its not possible to easily take a water hose and blast away the soil so I prepared an area on my floor. I laid down an old sheet and put a tin pan down to catch the soil. Use your fingers to gently knead the soil away from the roots. Remove as much soil as possible because we need to rinse away any excess soil in lukewarm water. I used a hair trapper to block the drain from any potential clogs from the soil. If you find that some soil is hard to reach way up in the root bed, then I suggest you soak the root awhile because digging in it will damage your plant.
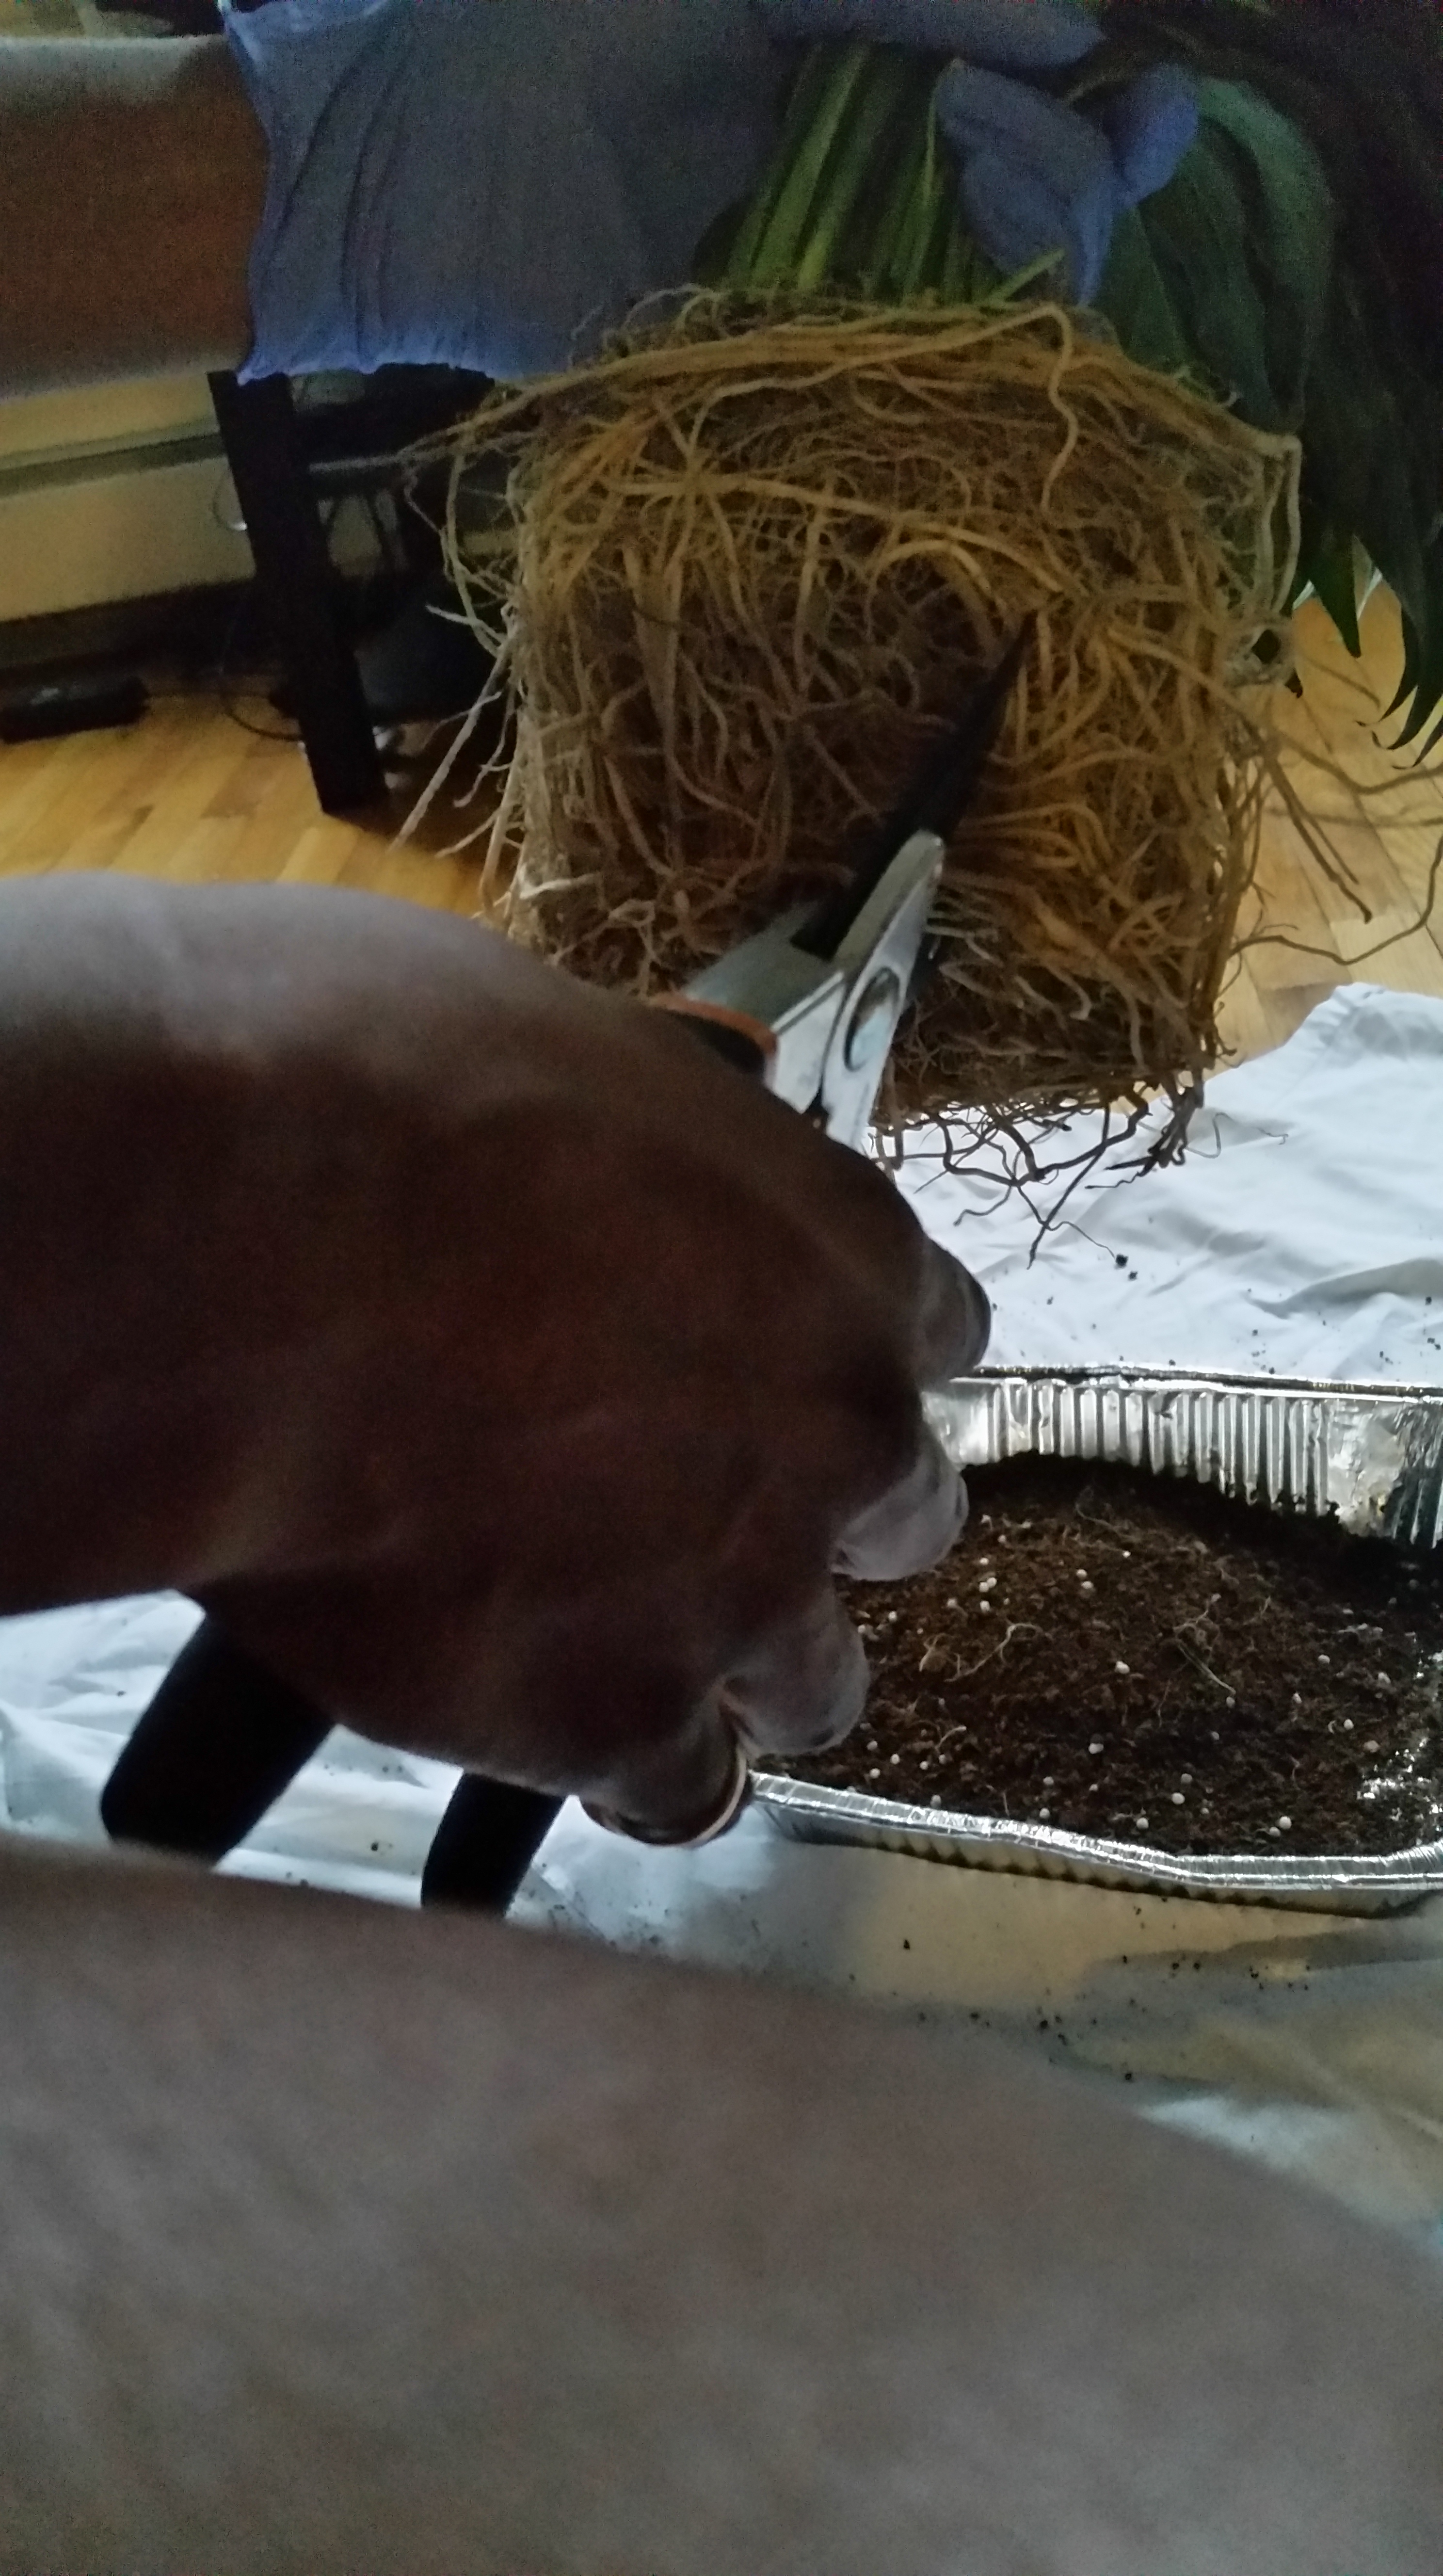
Now that we have clean roots, you can use a clean pair of scissors to shape and cut back the roots so that they fit into the tank. You want to end up with a neat group of roots because air needs to flow easily into the tank so your betta can breathe(they come up for air). Cut away any small leaves that fall into the water because they will only rot.
Next you can use any material to tie around the base 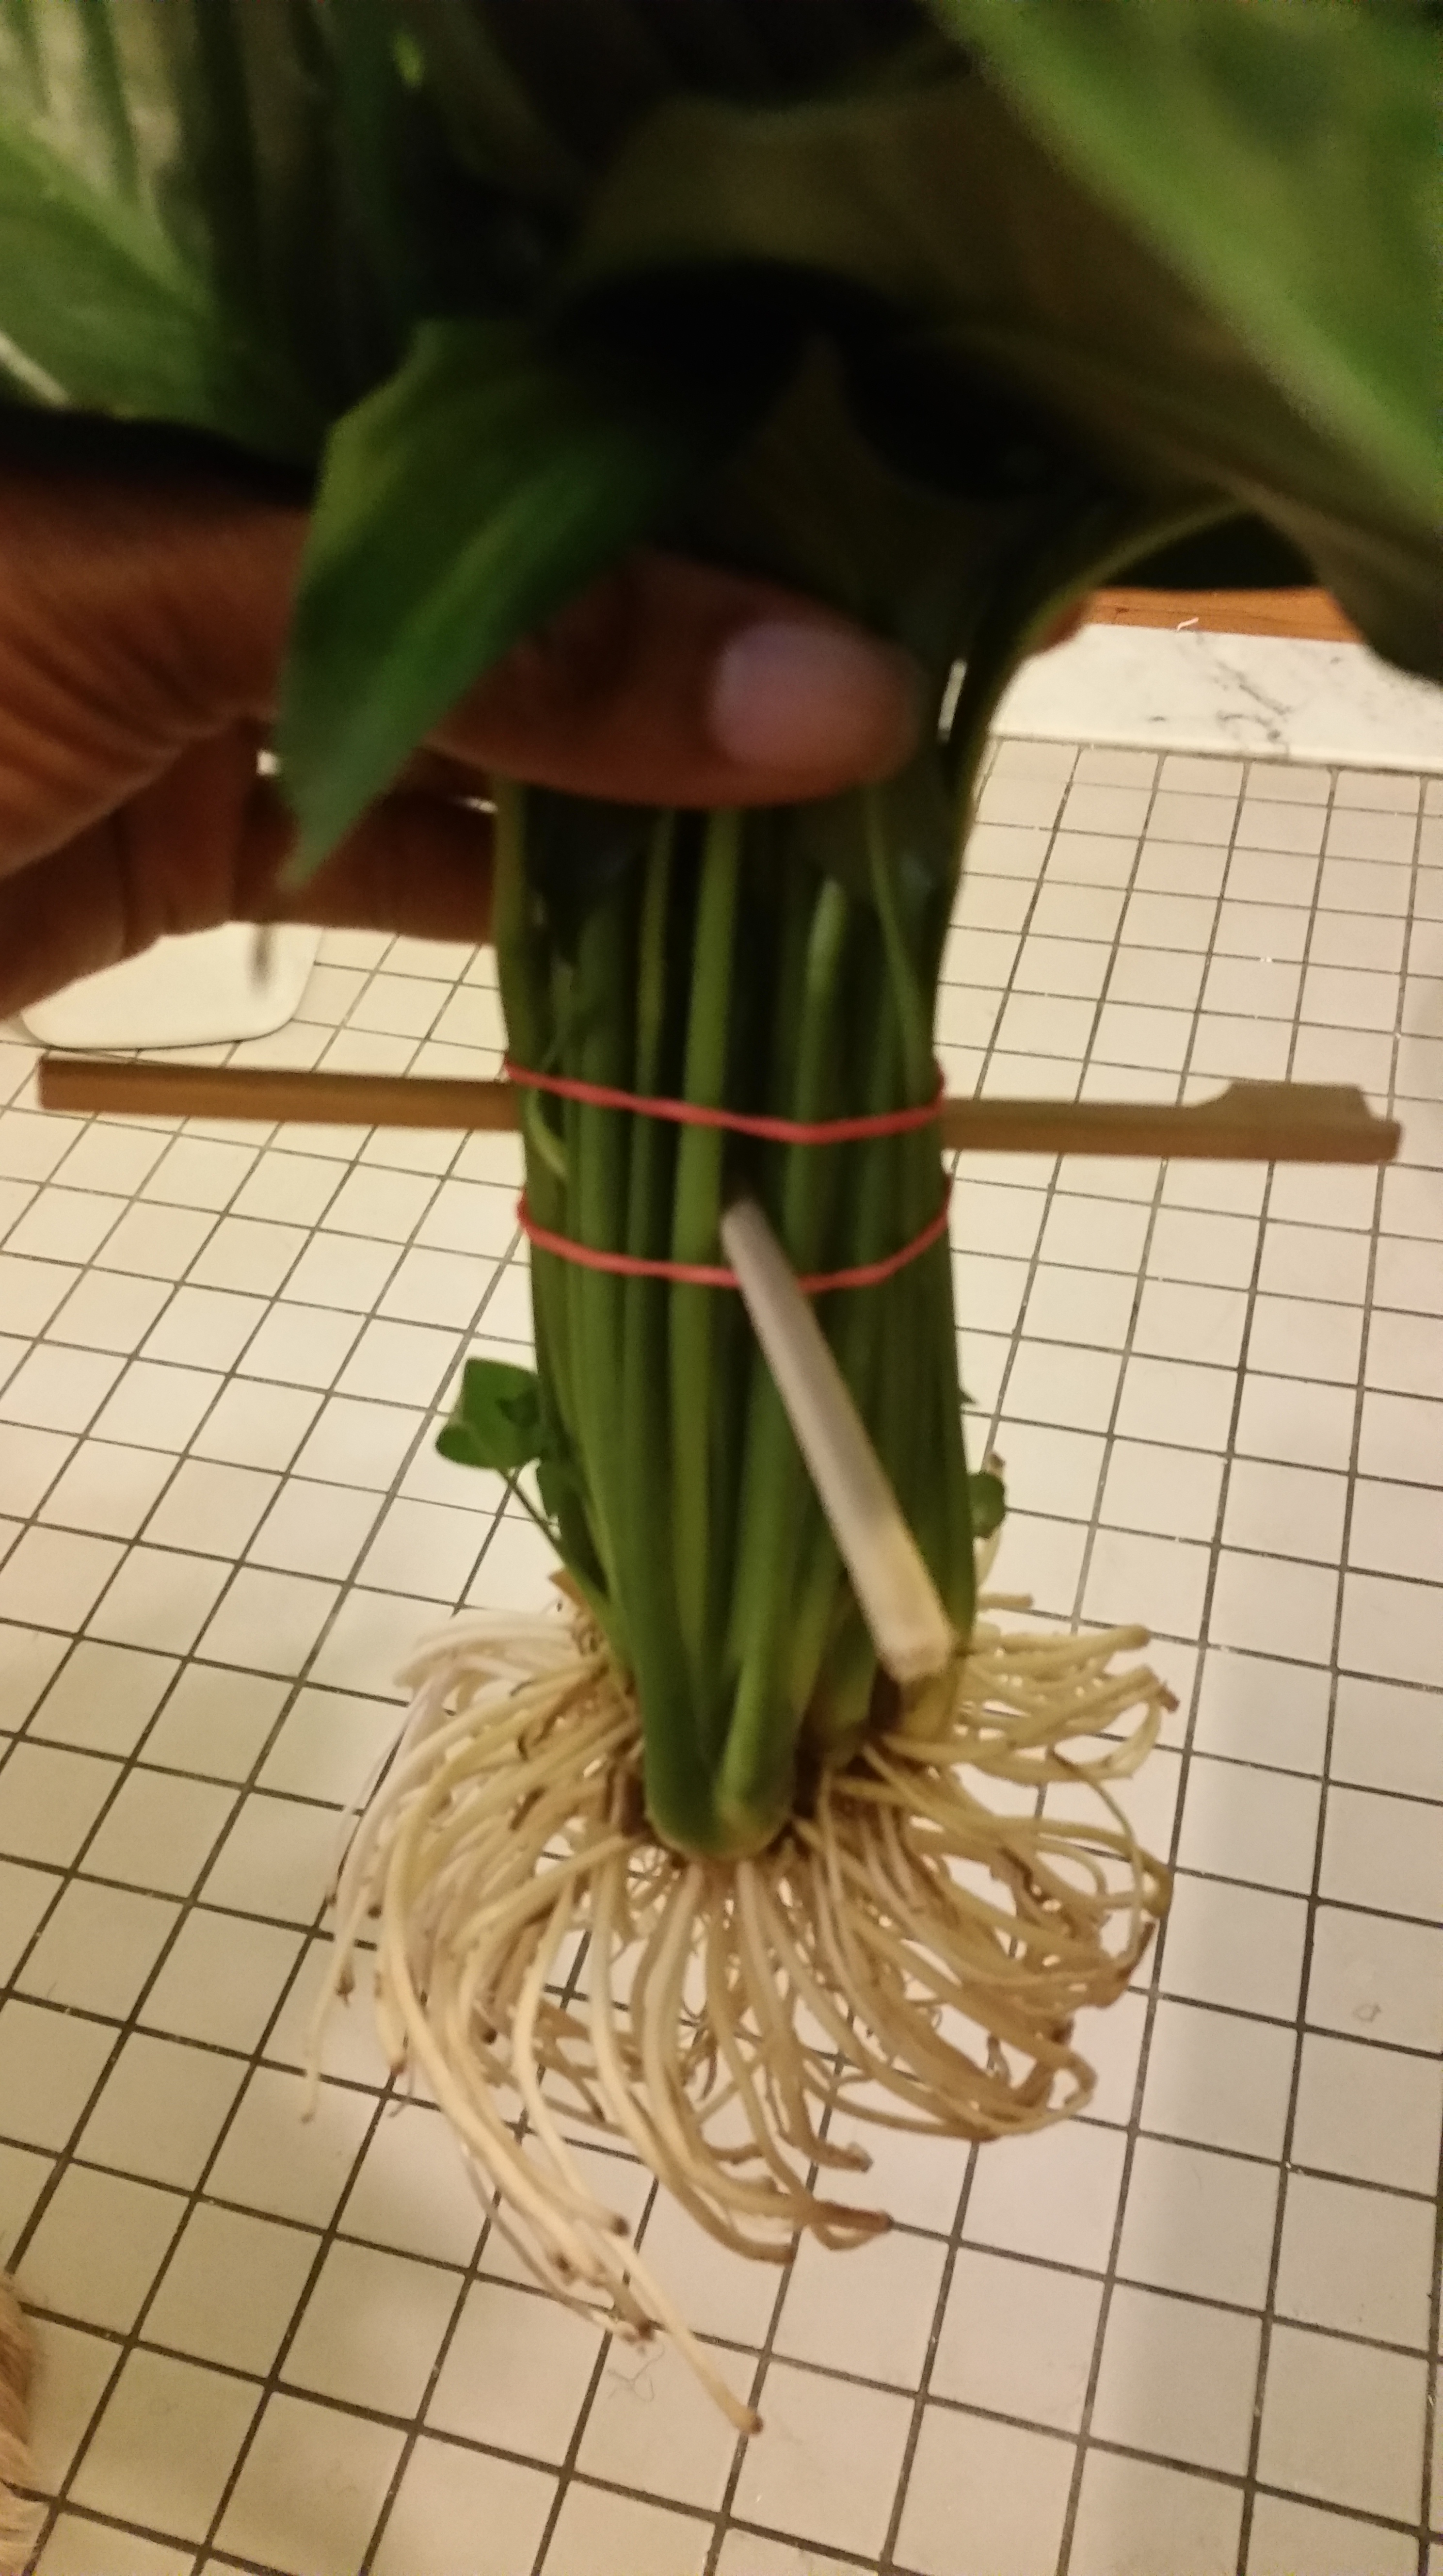 of the plant. I used a rubber band that I doubled in order to get a snug (not tight) fit. After I then inserted some sticks through the middle and placed the plant on top of the tank. Now you may want to adjust the level of the plant and pour in that extra cup of water so that you can cover the roots. After you’re done checking the aesthetics of the plant and making sure the tank is not filled to the top, add your fish.
ENJOY YOUR AQUARIUM!
****This makes a great Mother’s Day gift. It is an inexpensive gift with big value and moms will love it. I know because I am one.****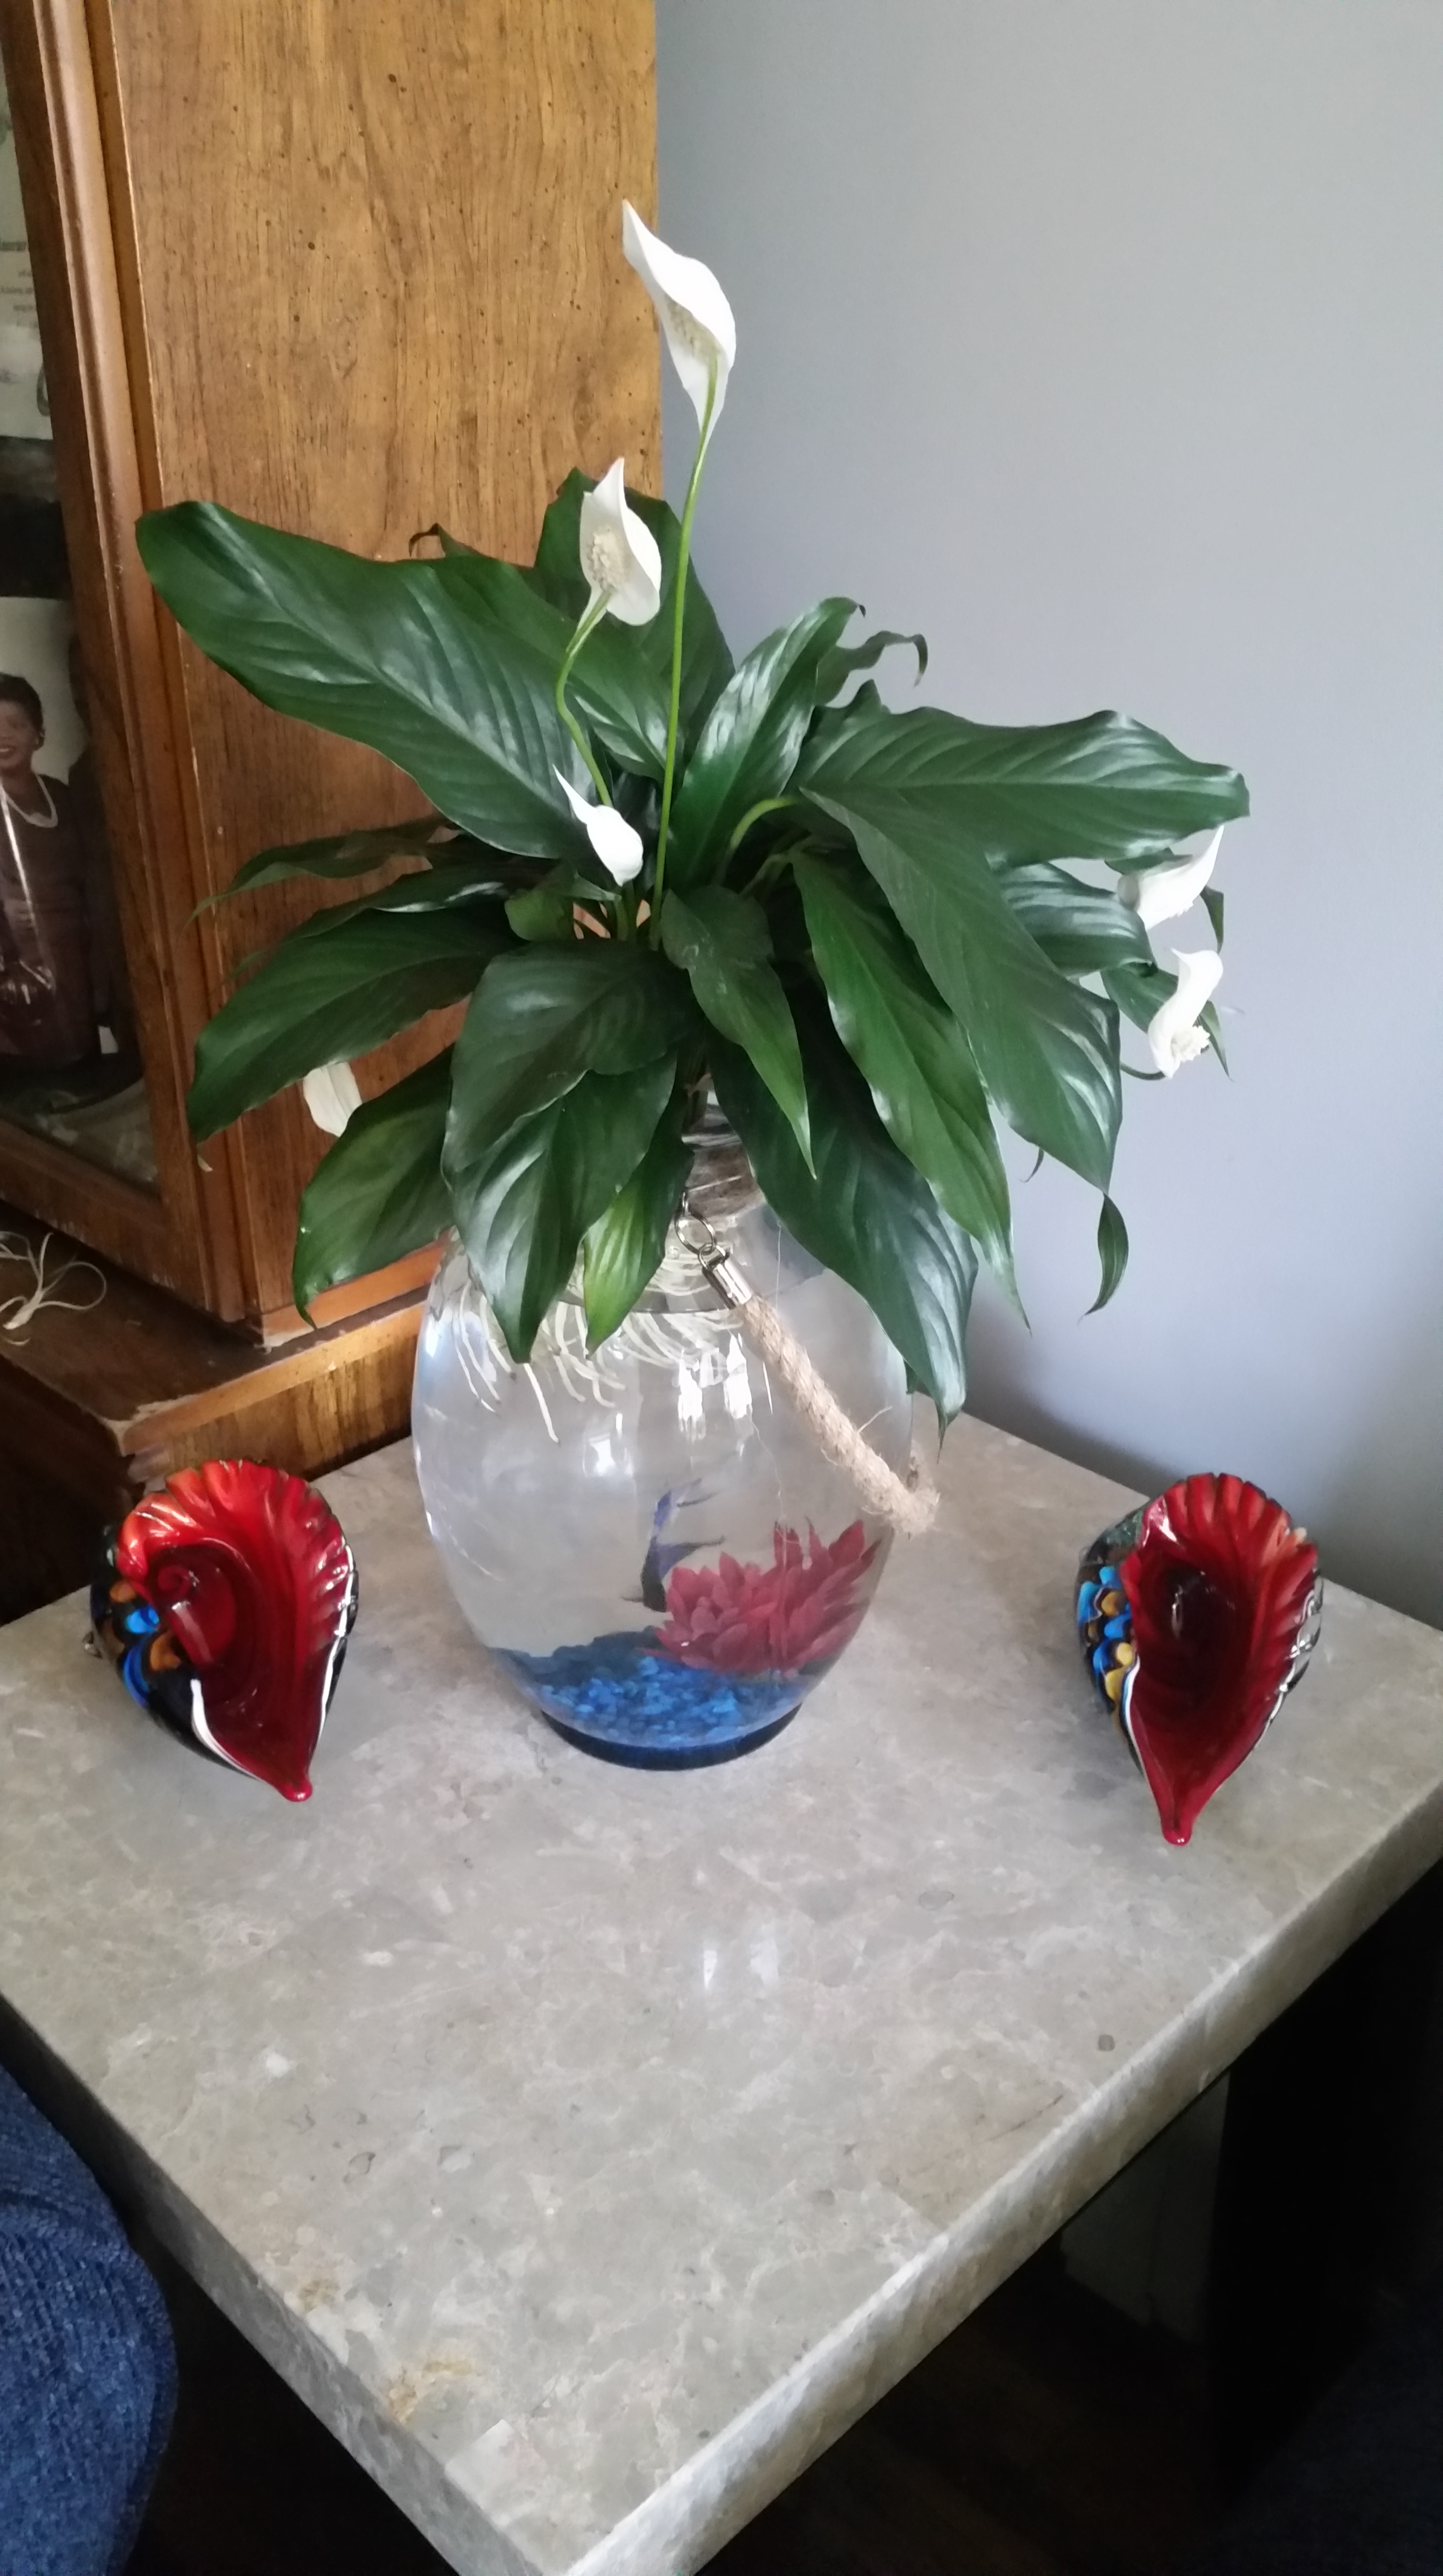

What a wonderful tutorial … Are you for hire? 😁
LikeLiked by 1 person
I’m happy to assist in any way possible.
LikeLike